Boost Your Car's Performance with Custom Tailpipes
Table of Contents
- Introduction
- Rebuilding the Tailpipes for a 1970 Chevelle SS 396
- Tailpipe Design Considerations
- Suspension Modifications
- Two-Piece Tailpipe Design
- Measuring and Cutting the Tailpipe
- Initial Bend Measurement
- Selecting the Correct Tubing Size
- Bending the Tailpipe
- Creating the Over-the-Axle Bend
- Test Fitting and Adjusting the Angle
- Squaring the End for a Tight Fit
- Installing the Tailpipe
- Securing the Tailpipe with Tack Welds
- Mounting the Hanger
- Building the Second Part of the Tailpipe
- Measuring and Bending the Second Piece
- Aligning the Tailpipe with the Frame
- Checking Height and Levelness
- Final Welding and Finishing
- Welding the Joints and Hanger
- Trimming the Hanger
- Completing the Welding Process
- Conclusion
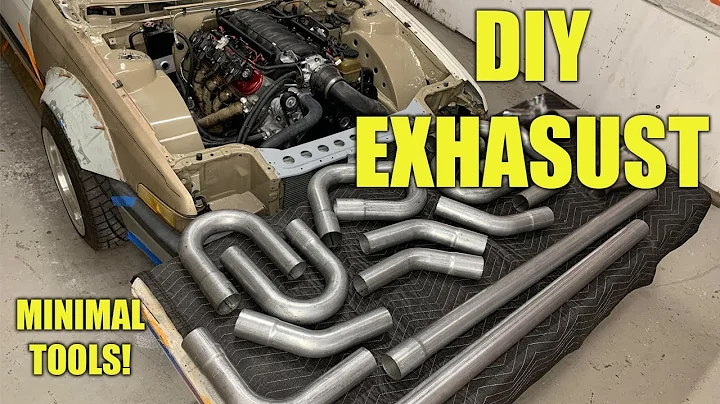
🚗 Rebuilding the Tailpipes for a 1970 Chevelle SS 396
When it comes to customizing a classic car like a 1970 Chevelle SS 396, every detail matters. One common modification that car enthusiasts often make is to rebuild the tailpipes to accommodate aftermarket suspension upgrades. This not only ensures proper clearance for the new components but also adds a touch of style to the vehicle's exhaust system. In this article, we'll dive into the process of rebuilding the tailpipes for a 1970 Chevelle SS 396, discussing the design considerations, measuring and cutting the tailpipe, bending techniques, installation, and final welding. Read on to learn how you can create tailpipes that not only look great but also enhance the performance of your classic car.
🛠️ Tailpipe Design Considerations
Before diving into the rebuilding process, it's important to understand the design considerations when it comes to tailpipes for a 1970 Chevelle SS 396. Since this particular model often undergoes aftermarket suspension modifications, such as the installation of coilover shocks and trailing arms, the tailpipe design needs to take these changes into account. One common approach is to opt for a two-piece tailpipe design.
The two-piece tailpipe allows for greater flexibility in navigating the suspension components and the rear differential. The first piece of the tailpipe, known as the "over the axle" piece, is designed to go over the rear suspension's trailing arm while clearing the differential. The second piece, which starts from the initial bend, extends towards the rear of the car to ensure a proper route for the tailpipe.
🔍 Measuring and Cutting the Tailpipe
To begin the tailpipe rebuilding process, the first step is to measure and cut the appropriate length of tubing. Start by measuring the distance from the outlet of the muffler to the initial bend, which is typically around four inches. Additionally, take into account the distance needed to clear the suspension components, such as the shock and spring. These measurements will help determine the overall length of the tailpipe.
It's important to note that it's always better to leave some extra tubing length to allow for adjustments later on. Deburring the edges of the tubing is essential to ensure safety during the cutting process. Double-checking the correct dies are in place will prevent any mishaps that may lead to crushed or deformed tubing.
🔀 Bending the Tailpipe
Once the correct tubing size has been selected and the measurements have been taken, it's time to start bending the tailpipe. When bending the tubing, it's essential to consider the specific requirements of the tailpipe design for a 1970 Chevelle SS 396. Begin with the largest bend, which is the over-the-axle bend, to ensure adequate clearance for the suspension components.
In the case of the Chevelle SS 396, a 60-degree initial bend is often suitable for most triangulated four-link suspension systems. However, adjustments may be needed to achieve the desired fit. Test fitting the tailpipe, ensuring proper clearance over the rear suspension, will help determine if any further adjustments are necessary.
🛠️ Installing the Tailpipe
With the correct bends in place, it's time to install the tailpipe. Start by slipping the end into the muffler and checking for clearances over the rear suspension components. It's crucial to ensure sufficient clearance for the upper trailing arm and the spring. Mark the position where the tailpipe needs to be bent to fit into the muffler securely.
To maintain the integrity of the tubing and keep it round during the bending process, always use an insert inside the tubing. This will prevent any deformation or oval shape that could impede the proper fitment. Square up the end of the tailpipe using a switch machine, ensuring a tight fit within the muffler.
🔄 Building the Second Part of the Tailpipe
The second part of the tailpipe is designed to extend from the initial bend and follow the frame towards the rear of the car. Begin by measuring the overall length needed for the tailpipe. Keep in mind that an additional bend point will be necessary to bring the tailpipe down and maintain a parallel fitment with the car.
As with the initial bend, start with a three and a half-inch mark to ensure a sufficient bend leg. Gradually bring the second piece of the tailpipe to a level position, parallel to the car, using a suitable angle based on the initial bend and the desired fitment.
⚙️ Final Welding and Finishing
Once the tailpipe has been bent to the correct shape and fitment, it's time for the final welding and finishing touches. Begin by securing the tailpipe with tack welds, ensuring it remains in the desired position. Mount the hanger onto the frame rail, allowing for proper support and stability.
After confirming the height and levelness of the tailpipe, proceed with additional tack welds to secure the tip in place. Double-check the parallel and flat alignment of the tip, avoiding any rotational discrepancies that could affect the overall aesthetic. Complete the welding process, focusing on welding the joints, hanger, and tip to ensure a solid and visually appealing installation.
💨 Conclusion
Rebuilding the tailpipes for a 1970 Chevelle SS 396 can be a rewarding custom project that adds both style and performance to the vehicle. By considering the suspension modifications, using a two-piece tailpipe design, and following the proper measuring, cutting, bending, and welding techniques, you can create tailpipes that not only fit perfectly but also enhance the overall look and feel of your classic car. Enjoy the process of bringing new life to your 1970 Chevelle SS 396 and make a statement on the road with your custom-tailored tailpipes.
FAQ
Q: How long does it take to rebuild the tailpipes for a Chevelle SS 396?
A: On average, the tailpipe rebuilding process takes approximately one and a half to two hours.
Q: What tools and equipment are needed for this project?
A: The tools and equipment required include tubing, a pipe bender, a switch machine, welding equipment, hangers, a deburring tool, and various measurement tools.
Q: Can I use a different tubing size for the tailpipes?
A: It is essential to use the correct tubing size to ensure a proper fit and performance. Using the wrong size can result in clearance issues and compromised aesthetics.
Q: Do I need welding experience to rebuild the tailpipes?
A: Basic welding skills or the assistance of a professional welder are recommended to ensure secure and durable tailpipe connections.
Q: Are there any performance advantages to rebuilding the tailpipes?
A: While the primary purpose of rebuilding the tailpipes is to accommodate aftermarket suspension upgrades and enhance the visual appeal, improved exhaust flow and reduced backpressure can potentially offer minor performance benefits.
Resources: