Easy Guide: Installing Liftmaster Garage Control with Alarm.com
Table of Contents
- Introduction
- Step 1: Preparing the Installation
- 2.1 Gather the Necessary Equipment
- 2.2 Understand the Installation Process
- Step 2: Mounting the Garage Door Sensor
- 3.1 Positioning the Sensor
- 3.2 Attaching the Sensor with Two-Sided Tape
- Step 3: Connecting to Wi-Fi
- 4.1 Accessing Wi-Fi Settings on Your Phone
- 4.2 Connecting to the MyQ Network
- Step 4: Setting up the Gateway
- 5.1 Accessing the Setup Website
- 5.2 Registering the Gateway
- Step 5: Adding the Door Sensor
- 6.1 Accessing the Equipment Tab on Alarm.com
- 6.2 Adding the Gateway Serial Number
- 6.3 Registering the Door Sensor
- Step 6: Testing and Programming the Garage Door Opener
- 7.1 Selecting the Brand of Garage Door Opener
- 7.2 Locating and Pressing the Test Button on the Sensor
- 7.3 Programming the Garage Door Opener
- Conclusion
Introduction
Installing a garage door sensor and connecting it to a Wi-Fi network can offer convenience and added security to your home. This guide will walk you through the step-by-step process of installing and setting up a garage door sensor for remote monitoring and control.
Step 1: Preparing the Installation
Before you begin the installation process, it is important to gather all the necessary equipment and familiarize yourself with the steps involved.
2.1 Gather the Necessary Equipment
To install a garage door sensor, you will need the following equipment:
- Garage door sensor with two-sided tape
- Wi-Fi router
- Smartphone or device with Wi-Fi capability
- Setup website address (setup.myqdevice.com)
- Serial number of the gateway
2.2 Understand the Installation Process
It is crucial to have an understanding of the installation process before proceeding. This will ensure a smooth and efficient installation.
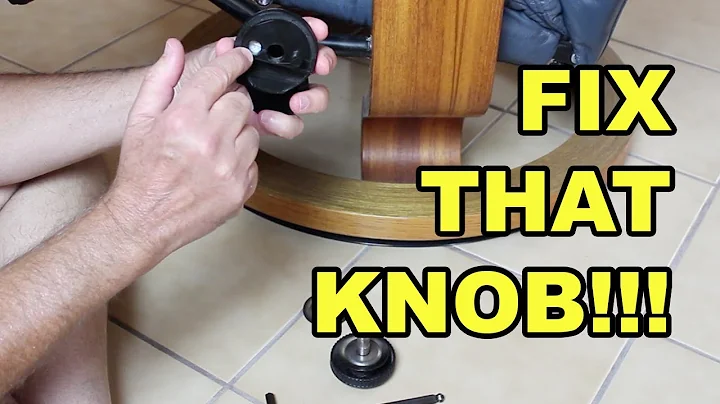
Step 2: Mounting the Garage Door Sensor
In this step, you will position and attach the garage door sensor using the provided two-sided tape.
3.1 Positioning the Sensor
Carefully select the optimal location for mounting the sensor on the top of your garage door. Ensure that it is facing the right direction (up and down).
3.2 Attaching the Sensor with Two-Sided Tape
Remove the adhesive backing from the two-sided tape and stick it onto the back of the sensor. Peel off the protective layer, align the sensor on the top of the garage door, and firmly press it into place.
Step 3: Connecting to Wi-Fi
To utilize the remote monitoring and control features of the garage door sensor, you need to connect it to your Wi-Fi network.
4.1 Accessing Wi-Fi Settings on Your Phone
Open the Wi-Fi settings on your smartphone or device and locate the MyQ network. Connect to this network to proceed with the setup.
4.2 Connecting to the MyQ Network
Visit the setup website (setup.myqdevice.com) and select the option to start the setup process in English. The website will scan for available Wi-Fi networks. Choose your home Wi-Fi network and enter the password to connect the garage door sensor.
Step 4: Setting up the Gateway
To establish a connection between the garage door sensor and your home security system, you need to set up the gateway.
5.1 Accessing the Setup Website
On the setup website, navigate to the equipment tab and locate the LiftMaster devices section.
5.2 Registering the Gateway
To add the gateway, enter the serial number found on the back of the device. After inputting the serial number, the website will attempt to register the gateway.
Step 5: Adding the Door Sensor
In this step, you will add the garage door sensor to the home security system.
6.1 Accessing the Equipment Tab on Alarm.com
Return to the equipment tab on Alarm.com and select the option to add a device. Choose the LiftMaster brand and the specific motor type.
6.2 Adding the Gateway Serial Number
Enter the serial number of the gateway device and proceed to register the door sensor with the system.
6.3 Registering the Door Sensor
Follow the instructions provided on the setup website to locate and press the test button on the door sensor. Once the sensor is detected, complete the registration process.
Step 6: Testing and Programming the Garage Door Opener
To ensure proper functionality, test and program the garage door opener.
7.1 Selecting the Brand of Garage Door Opener
Choose the brand of the garage door opener motor for the system to recognize and program accordingly.
7.2 Locating and Pressing the Test Button on the Sensor
Press the test button on the door sensor to establish a connection with the gateway. The gateway will emit a beep sound to indicate successful communication.
7.3 Programming the Garage Door Opener
Program the garage door opener by following the instructions provided. Once programmed, test the opener's functionality by opening and closing the garage door.
Conclusion
By following these steps, you can successfully install and set up a garage door sensor for remote monitoring and control. Enjoy the convenience and peace of mind that comes with being able to monitor and manage your garage door from anywhere.
Highlights
- Installing a garage door sensor for remote monitoring and control
- Step-by-step guide for mounting and connecting the sensor
- Setting up the gateway and registering the door sensor
- Testing and programming the garage door opener
- Convenience and added security with remote access
FAQ
Q: Can I install a garage door sensor myself?
A: Yes, you can install a garage door sensor yourself by following the provided instructions and using the necessary equipment.
Q: How long does it take to set up the garage door sensor?
A: The setup process usually takes between 30 minutes to an hour, depending on your familiarity with the equipment and the installation process.
Q: Do I need Wi-Fi for the garage door sensor to work?
A: Yes, a Wi-Fi connection is required for the garage door sensor to enable remote monitoring and control capabilities.
Q: Can I connect multiple garage doors to the same sensor?
A: Some garage door sensor models allow for multiple door connections, but it is essential to check the specifications before installation.
Q: Is the garage door sensor compatible with all garage door openers?
A: The compatibility of the garage door sensor can vary depending on the brand and model of the garage door opener. It is necessary to ensure compatibility before making a purchase.
Resources: