Fixing Convertible Top: Replace Cylinders and Lines for Smooth Operation
Table of Contents
- Introduction
- Installing the Pump and Filling the Reservoir
- Discovering the Oil Leakage and the Problem
- Investigating the Damage and Taking Out the Back Seat
- Replacing the Broken Pipe and Evaluating the Hassle
- Removing the Lines and Examining the Cylinders
- Comparing the Lengths of the New and Original Lines
- Connecting the Lines to the Pump and Testing for Leaks
- Mounting the Cylinders and Tightening the Connections
- Identifying Missing O-Rings and Reinstalling
- Refilling the Reservoir and Testing the Operation
- Conclusion
Installing the Pump and Filling the Reservoir
When it comes to maintaining a car's convertible top, the hydraulic system plays a crucial role. However, sometimes problems may arise, such as leaks or damage to the system's components. In this article, we will take you through the journey of installing and troubleshooting a convertible top hydraulic system.
The first step in this process is installing the pump and filling the reservoir with hydraulic fluid. Ensure that the pump is properly hooked up and external ground is provided. With the reservoir filled, it's time to test the system and observe any potential issues.
Discovering the Oil Leakage and the Problem
Upon running the test, it becomes evident that there is a significant amount of fluid leakage. Oil is observed squirting from the cylinders, and a mess has been made in the car, leading to the discovery of a broken pipe. It is clear that the weakest component, the cylinder, has exploded, causing oil to splash everywhere, even reaching the front of the dashboard.
Investigating the Damage and Taking Out the Back Seat
To address the problem, the back seat is removed, allowing for a closer inspection of the damage. An oil mess is observed on the floor, and the broken pipe becomes the focus of attention. The decision is made to fix everything, ensuring thorough replacement of the broken lines and further investigation of the seat removal process.
Replacing the Broken Pipe and Evaluating the Hassle
The broken pipe is identified as the main culprit behind the oil leakage. The decision is made to replace the lines and assess the challenges associated with removing the seat in order to complete the repair process. Although the task seems manageable, it requires further research and understanding of the seat's attachment.
Removing the Lines and Examining the Cylinders
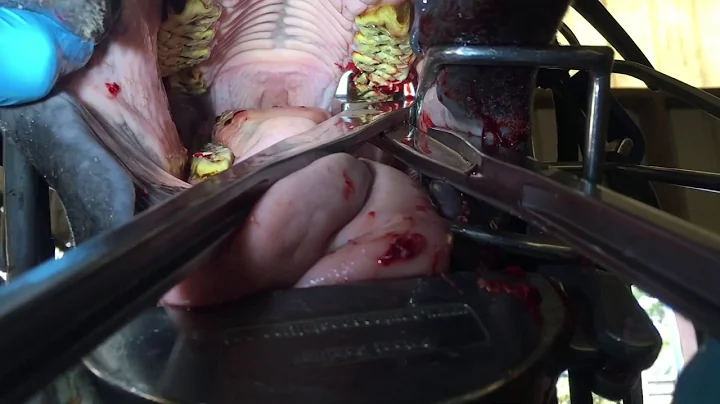
With the back seat successfully taken out, the tubing responsible for the oil mess is carefully removed. The next step is to detach the cylinders and inspect them for any additional damage. The removal process should be carried out with caution, considering the presence of hydraulic fluid in the car.
Comparing the Lengths of the New and Original Lines
As the replacement process begins, an interesting observation is made regarding the length of the new lines. It becomes apparent that the bottom line is considerably shorter than the top line. Careful comparison between the original and new lines ensures that the correct lengths are used, providing a reliable fix for the problem at hand.
Connecting the Lines to the Pump and Testing for Leaks
With the new lines in hand, it is time to attach them to the pump and determine if there are any leaks. Two clips hold the lines in place, and utmost care is required during installation. The lines should be secured properly to prevent any fluid leakage that could potentially cause further damage.
Mounting the Cylinders and Tightening the Connections
Before proceeding with the cylinder installation, it is vital to ensure that the appropriate bolts and sockets are used. The cylinders are carefully mounted, and the correct connections are made. Thoroughly checking and tightening all the connections is essential for the success of the repair.
Identifying Missing O-Rings and Reinstalling
Upon closer inspection, it becomes apparent that the o-rings in the cylinders are missing. This oversight might be contributing to the leaks in the system. Identifying the proper o-rings and reinstalling them is crucial for ensuring a proper seal and preventing future leakage.
Refilling the Reservoir and Testing the Operation
With the repairs completed, it is time to fill the reservoir with hydraulic fluid once again. The system should be thoroughly bled to remove any air pockets and ensure optimal functionality. After the fluid is filled, it is essential to test the system and make sure that all operations are smooth, without any signs of leakage or malfunction.
Conclusion
Repairing and maintaining a convertible top hydraulic system can be a challenging yet rewarding endeavor. By diligently following proper installation and troubleshooting procedures, it is possible to restore the system's functionality and prevent future issues. Remember to prioritize safety precautions throughout the process and seek professional assistance if needed.